ROBOTIC ARM Arduino Controlled 8 Steps Instructables
Robot ARM / Lengan ARDUINOemail = [email protected]

Arduino Controlled Robotic Arm W/ 6 Degrees of Freedom 5 Steps (with
11 Jan Proyek Membuat Robot Arm / Lengan Arduino Otomatis By elangsakti Proyek robot arm Arduino ini merupakan alat penunjuk atau pemilih sensor mana yang didekati oleh benda. Sensor yang digunakan adalah sensor ultrasonik, yaitu HC-SR04. Alat ini sebelumnya digunakan untuk mengukur suhu sampel bahan kimia secara otomatis.
How to assemble and control a robot arm with an Arduino SriTu Hobby
A simple way to make an arduino robot at home Ari gatou 8.68K subscribers Subscribe 837 Share 55K views 3 years ago #simple #arduino #tutorial hello friends meet again with me ( ARI GATOU) on.
CARA MEMBUAT ROBOT ARM SELEKSI WARNA DENGAN ARDUINO BATECH CREATIVITY
Here is the list in no particular order of the parts, tools and software needed for this project. Parts: 1. Arduino UNO REV3 2. (2) Bread Boards 3. (2) Parallax servos 4. (2) Ebay micro servos 5. (2) Parllax analog joysticks 6. Breadboard jumper cables 7. Masking Tape 8. Foam board 9. Utility knife, scissors.

Cara Membuat Robot Arm Dengan Arduino
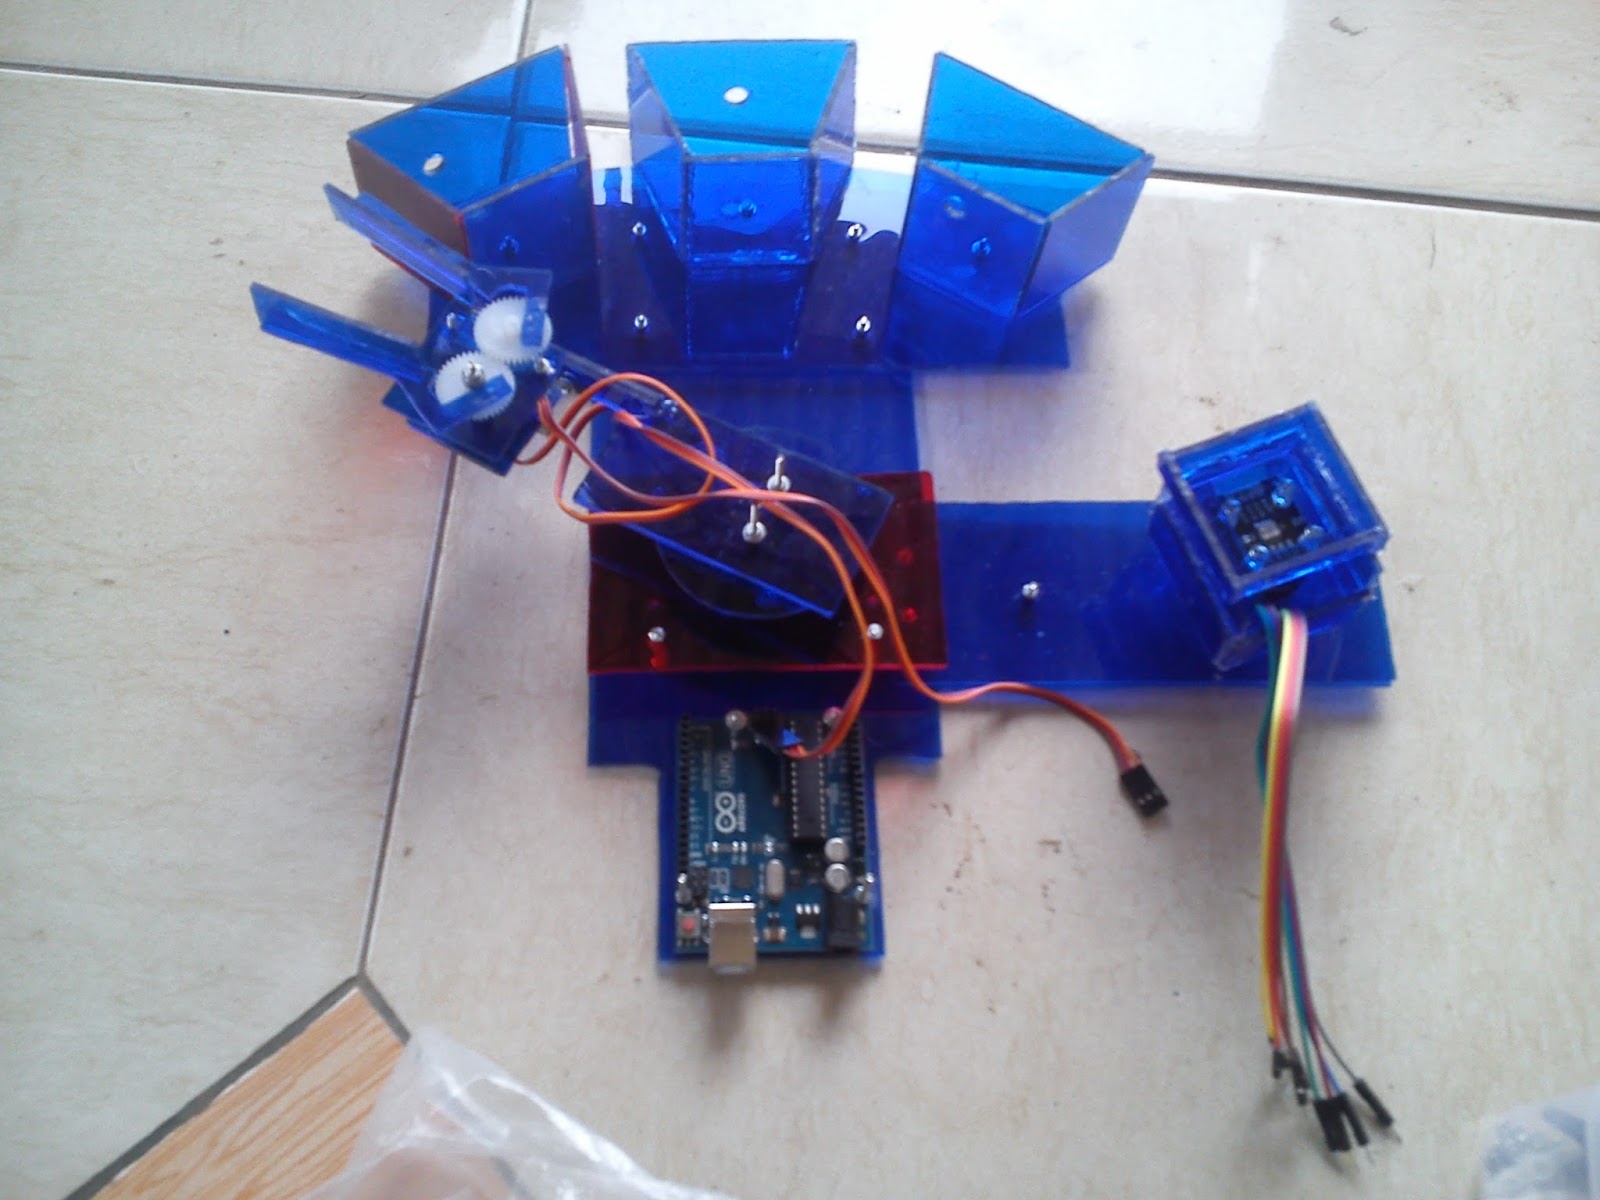
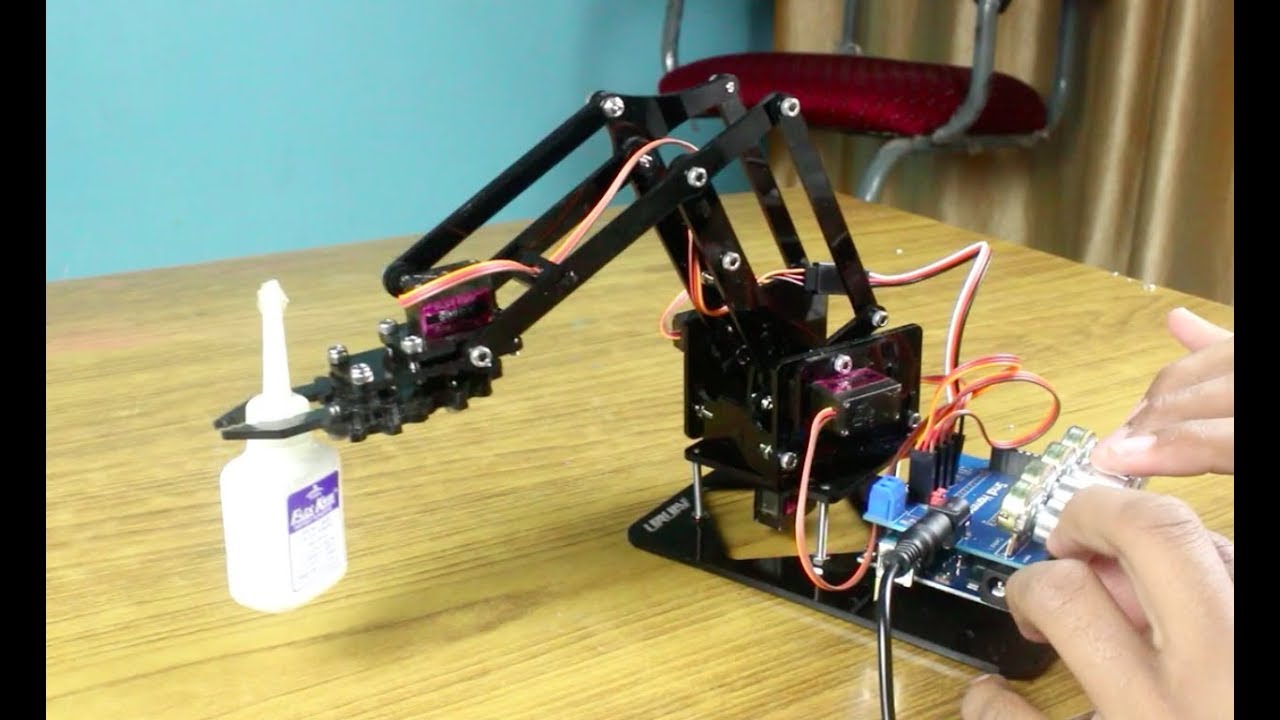
Untuk membuat robotic arm dibutuhkan alat dan bahan sebagai berikut : 3 Buah Servo 1 Buah micro servo 1 Buah bread board 1 Buah Arduino Jumper Secukupnya Kabel USB Baterai 9 Volt Kawat Besi 2 Joyatick module Setelah menyiapkan semua alat dan bahan yang dibutuhkan maka langkah pertama yang harus dilakukan adalah membuat sketsa dan modelling.

Arduino Robot Arm Instructables
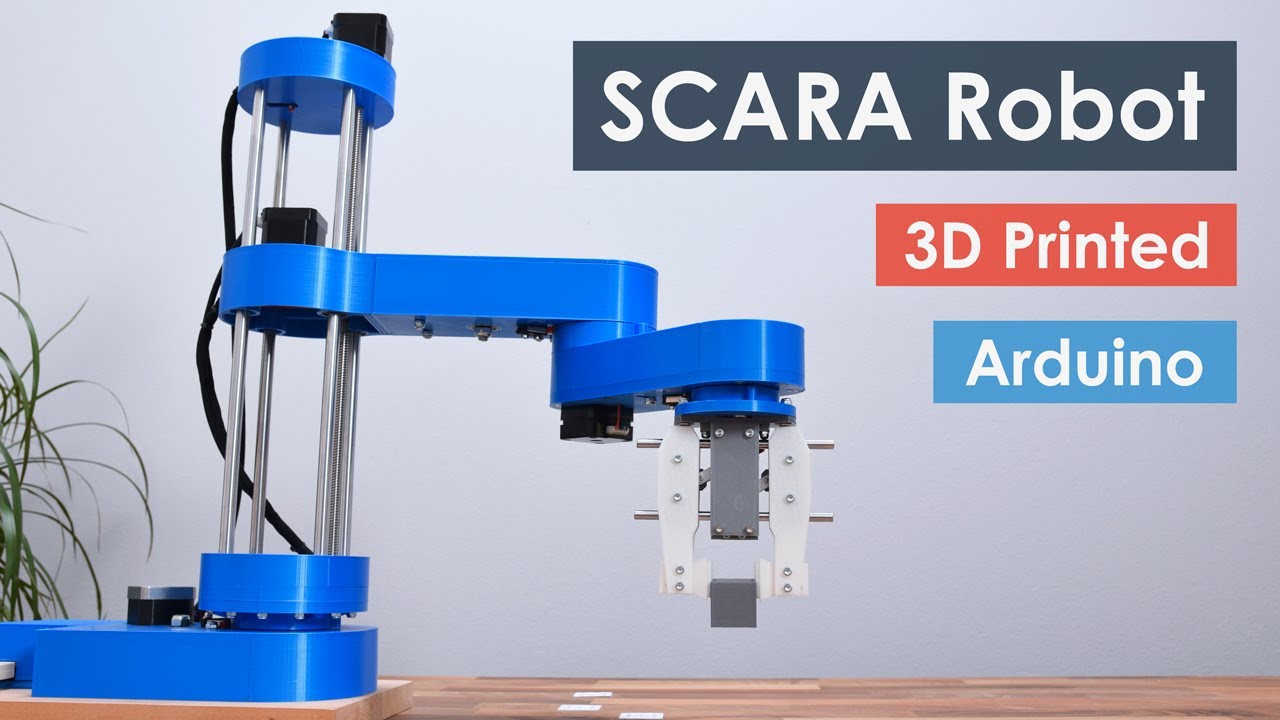
Cara kerja atau prinsip Robotic Arm akan dijelaskan pada diagram blok berikut: Diagram Blok Arm Robot Berdasarkan Warna Berdasarkan blok diagram sistem yang telah digambarkan diatas, maka dapat diuraikan secara detail mengenai perancangan dan pembuatan Robotic Arm baik dari segi hardware (perangkat keras) maupun software.

Cara Membuat Robot Arm Seleksi Warna Dengan Arduino Batech Creativity
Arduino Uno2. 5 Potens. @ArluxmanTukaNgoprek ini adalah tutorial singkat cara membuat robot lengan pen-japit dengan bahan triplek dan komponen menggunakan :1.
Robotic Arm Arduino Project Hub
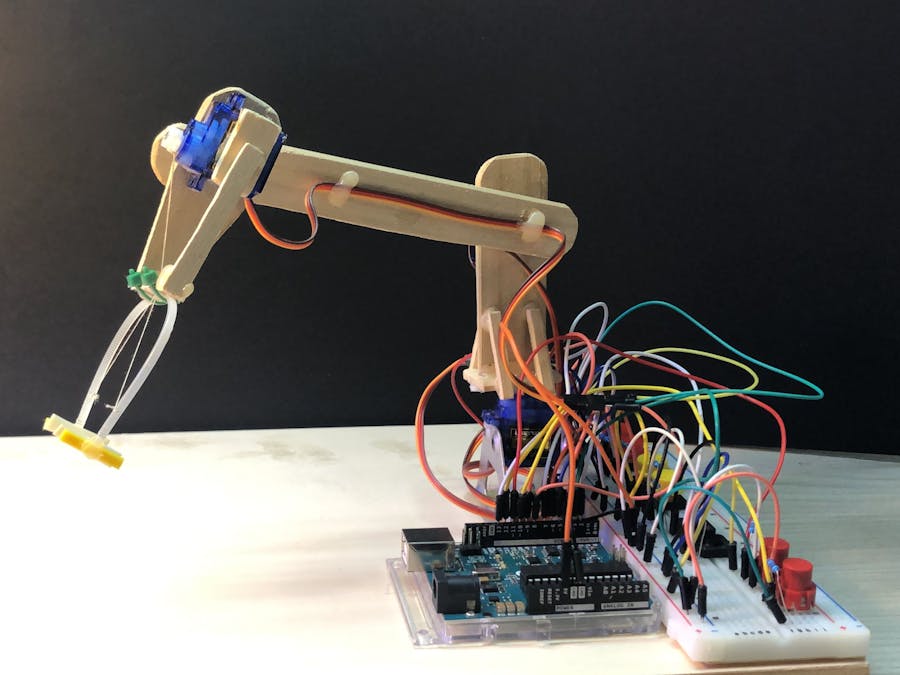
This instructable is a hand-in for a school project that we made. The purpose of this project was to create a robot arm control using thumbsticks. We had to use an Arduino Uno for the control and in addition, we had to implement some sort of actuator or sensor in the setup. We modified a Logitech gamepad using the two thumbsticks.

DIY Arduino Robotic Arm Project With Circuit Diagram Code vlr.eng.br
To set up the ROS package on your host machine, follow the steps in the previous article Robotic Arm Simulation in Robot Operating System (ROS) and setup ROS, create a ROS workspace and install the ROS package provided here. The robot-arm-control-ros ROS package has this file structure: File Structure for the ROS package- (Image Source.
Cara Membuat Robot Arm Dengan Arduino Edward Books
In this guide, we're going to introduce you to Arduino using the meArm robot arm project as a guide to a variety of skills. The meArm is an open-source kit with all the parts you need to build a.

. Membuat Robot Lengan (ARM) Menggunakan Arduino
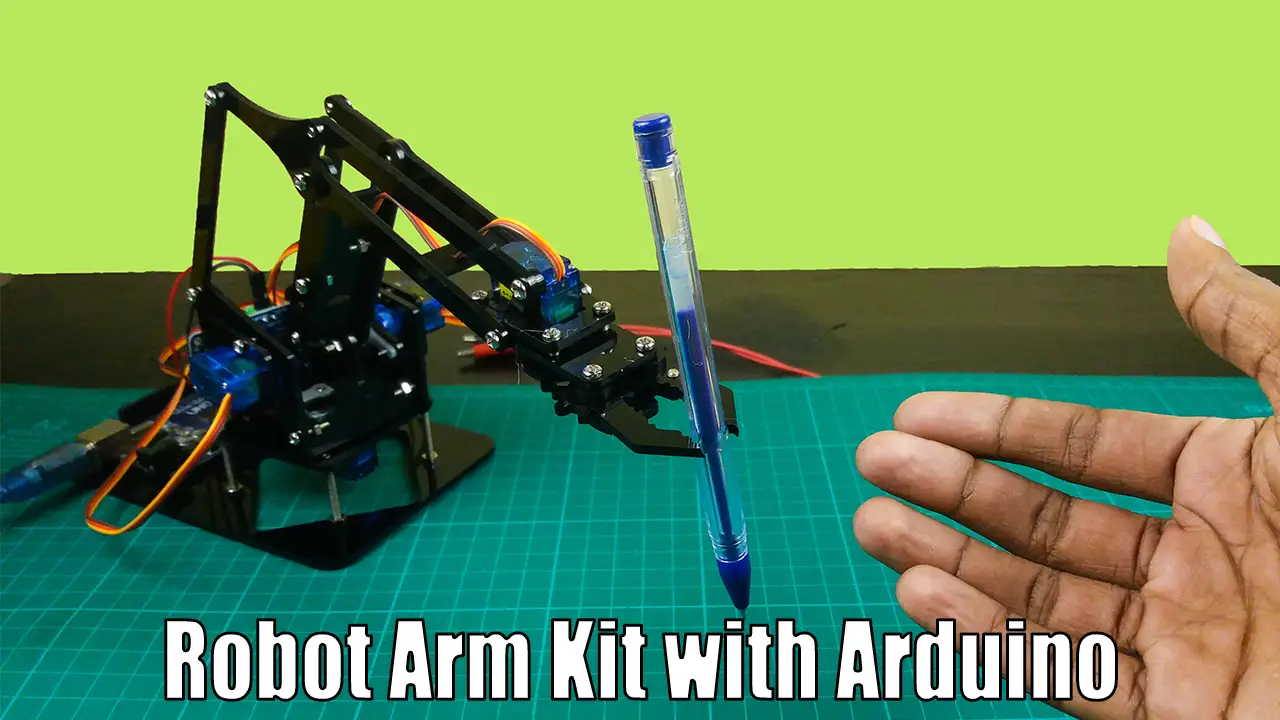
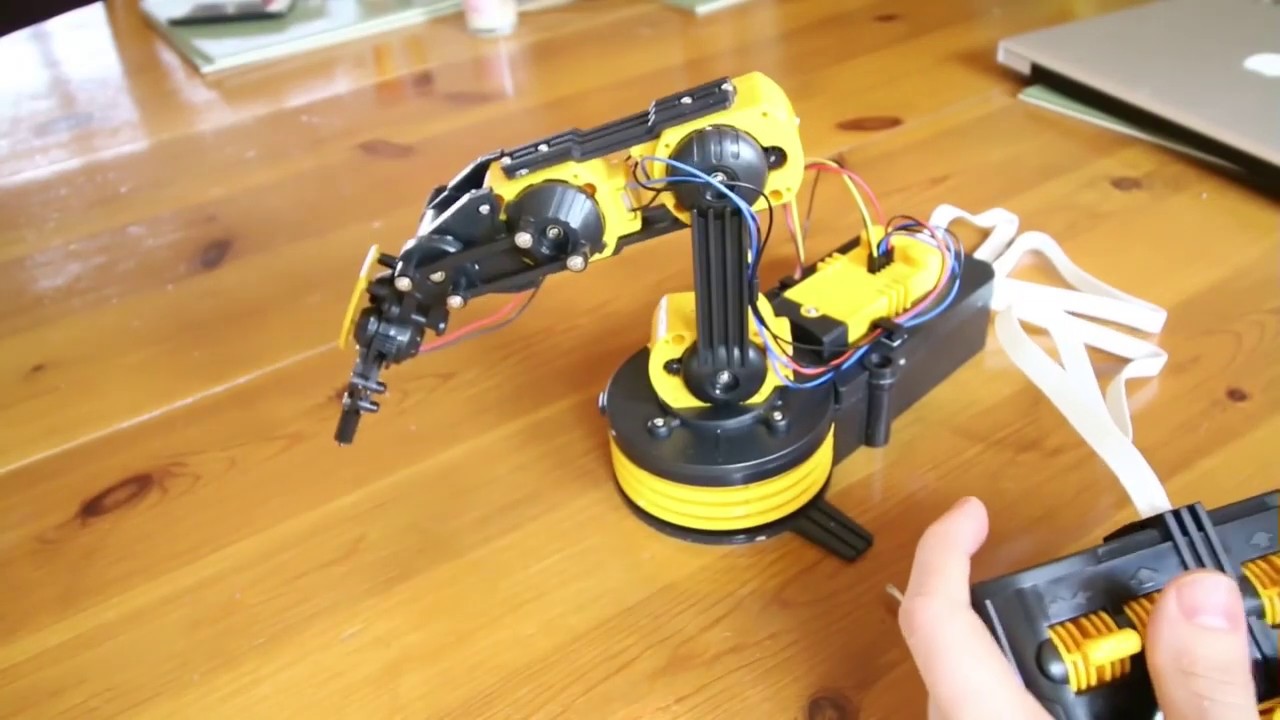
This tutorial covers how to assemble a robot arm kit for sale in the market step by step and how it works with an Arduino. Also, use this tutorial to understand how a robotic arm works. Ok, let's do this project step by step. The required components are given below. Robot arm kit x 1 — Amazon / Our Store. Arduino UNO board x 1 — Amazon.

How To Make Arduino Robotic Arm Controlled with Smartphone Cardboard
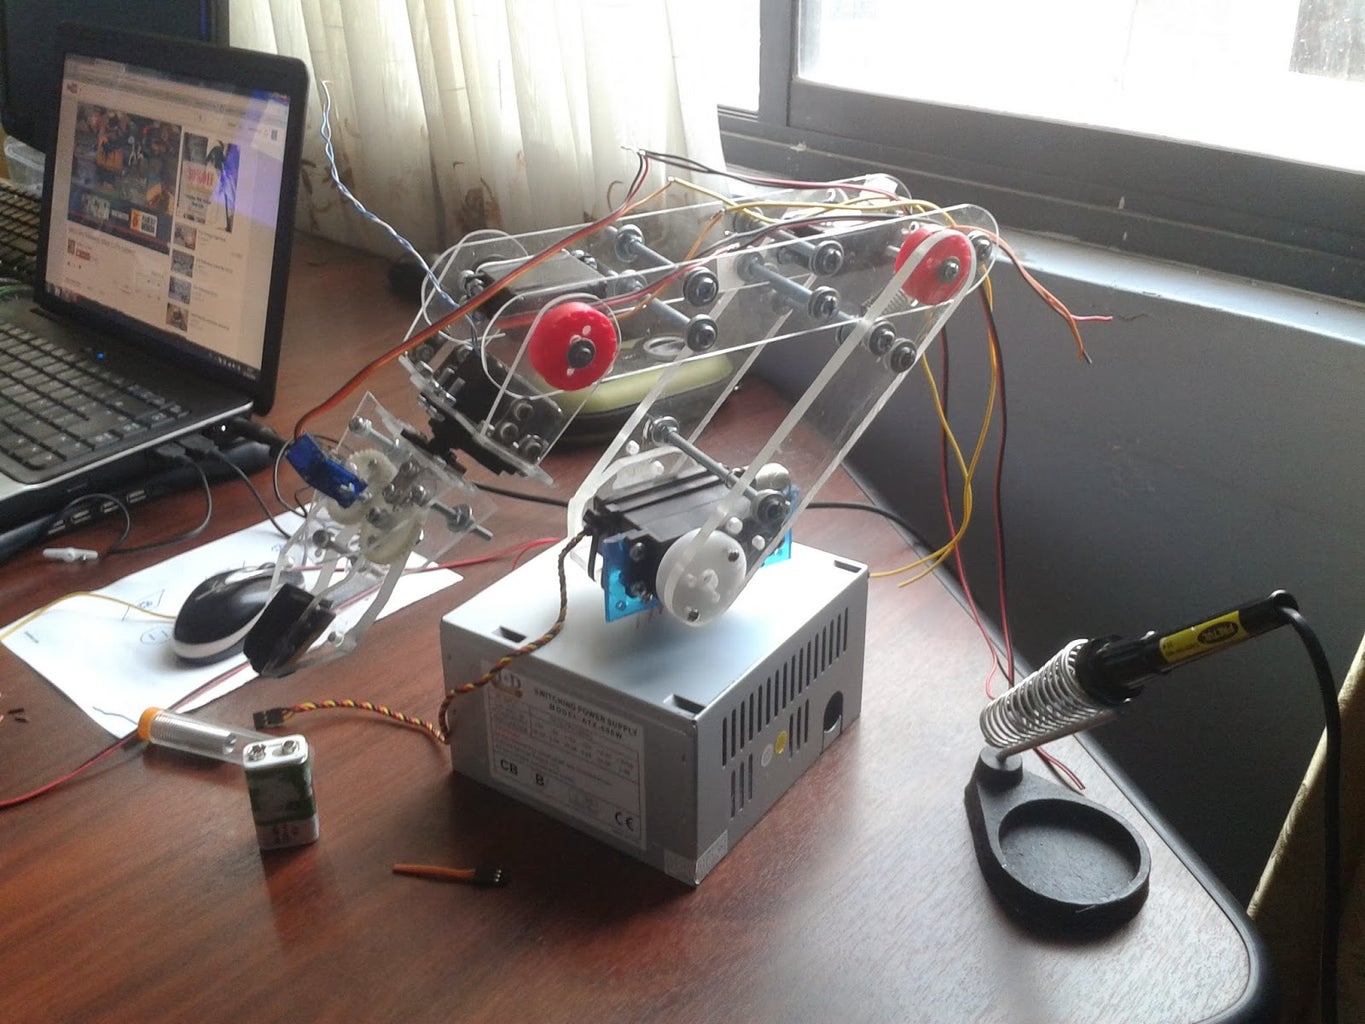
Robot Arm adalah sejenis robot yang berfungsi seperti lengan kita, lengan manusia. Ada siku (elbow), pergelangan (wrist), ada pula bagian untuk memegang/menjepit (grip). Penampakannya terlihat pada gambar : Terdapat Enam servo : Base, Shoulder x 2, Elbow, Wrist dan Grip. Jadi kita perlu lima pin Arduino yang dihubungkan ke masing masing servo.

DIY Arduino Robot Arm with Smartphone Control YouTube
To do this, connect the IR module to the Arduino's analog pins and check the values received in the serial monitor. Then find the corresponding values when an object is in front of the IR sensor. You can use this code to check the IR modules and DC motors: int value; void setup () { Serial.begin (9600); } void loop () { value = analogRead (3.
DIY Robot Arm, Arduino Robot Arm Kit YouTube
Bor tangan Kabel Buzzer Setelah alat dan bahan disiapkan, maka proses pertama adalah merakit lengan robot (arm robot). Proses perakitan robot lengan dimulai dari memasang motor servo 0 pada bagian bawah, lalu dilanjutkan persendian pada lengan robot dengan menggunakan motor servo 1, 2, 3, 4.

HOW TO Make DIY Robot Arm DIY Kit for Arduino YouTube
Untuk mencoba gerakan kontrol robot Arm dengan Arduino ini melalui perintah serial komunikasi, kita pakai saja Serial Monitor dari Arduino IDE. Buka Serial Monitor ( Tools - Serial Monitor ), atur baudrate pada 9600 dan tambahan " Newline ". Perintah kontrolnya sebagai berikut : [nomor servo] [spasi] [besar sudut]
How to make Robotic Arm at home Arduino Robot Arm YouTube
Continuously adjustable "elbow" over a 180 degree vertical axis. Continuously adjustable "finger pinch" or Grip over a 90 degree vertical axis. Continuously adjustable "arm" over a 180 degree horizontal plane. Entire robotic system or the crane arm is movable and maneuvaerable like a remote controlled car.